
Step-by-Step Guide to Repairing Cracked Mortar Between Blocks
Introduction
Masonry structures, including walls and foundations, are vital components of many buildings. Over time, however, these structures can develop issues like cracked mortar between blocks. If ignored, these cracks can lead to significant structural problems and costly repairs. This comprehensive guide will walk you through the Step-by-Step Guide to Repairing Cracked Mortar Between Blocks, providing you with everything you need to know to tackle this project efficiently.
By understanding the intricacies involved in repairing cracked mortar and knowing when to call a professional masonry contractor, you'll be well-equipped to maintain your property's integrity. Whether you're searching for "masonry companies near me" or just want some DIY insights, we've got you covered.
Understanding Masonry and Its Importance
What is Masonry?
Masonry refers to the construction of structures from individual units, which are often laid in mortar. These units can include bricks, stones, or concrete blocks. Masonry is renowned for its durability and aesthetic appeal but does require regular maintenance.
Why is Mortar Important?
Mortar acts as the glue that holds masonry units together. It fills gaps between blocks and absorbs stress from movements caused by temperature changes or settling. A solid mortar joint is crucial for a sturdy structure.

Signs You Need to Repair Cracked Mortar
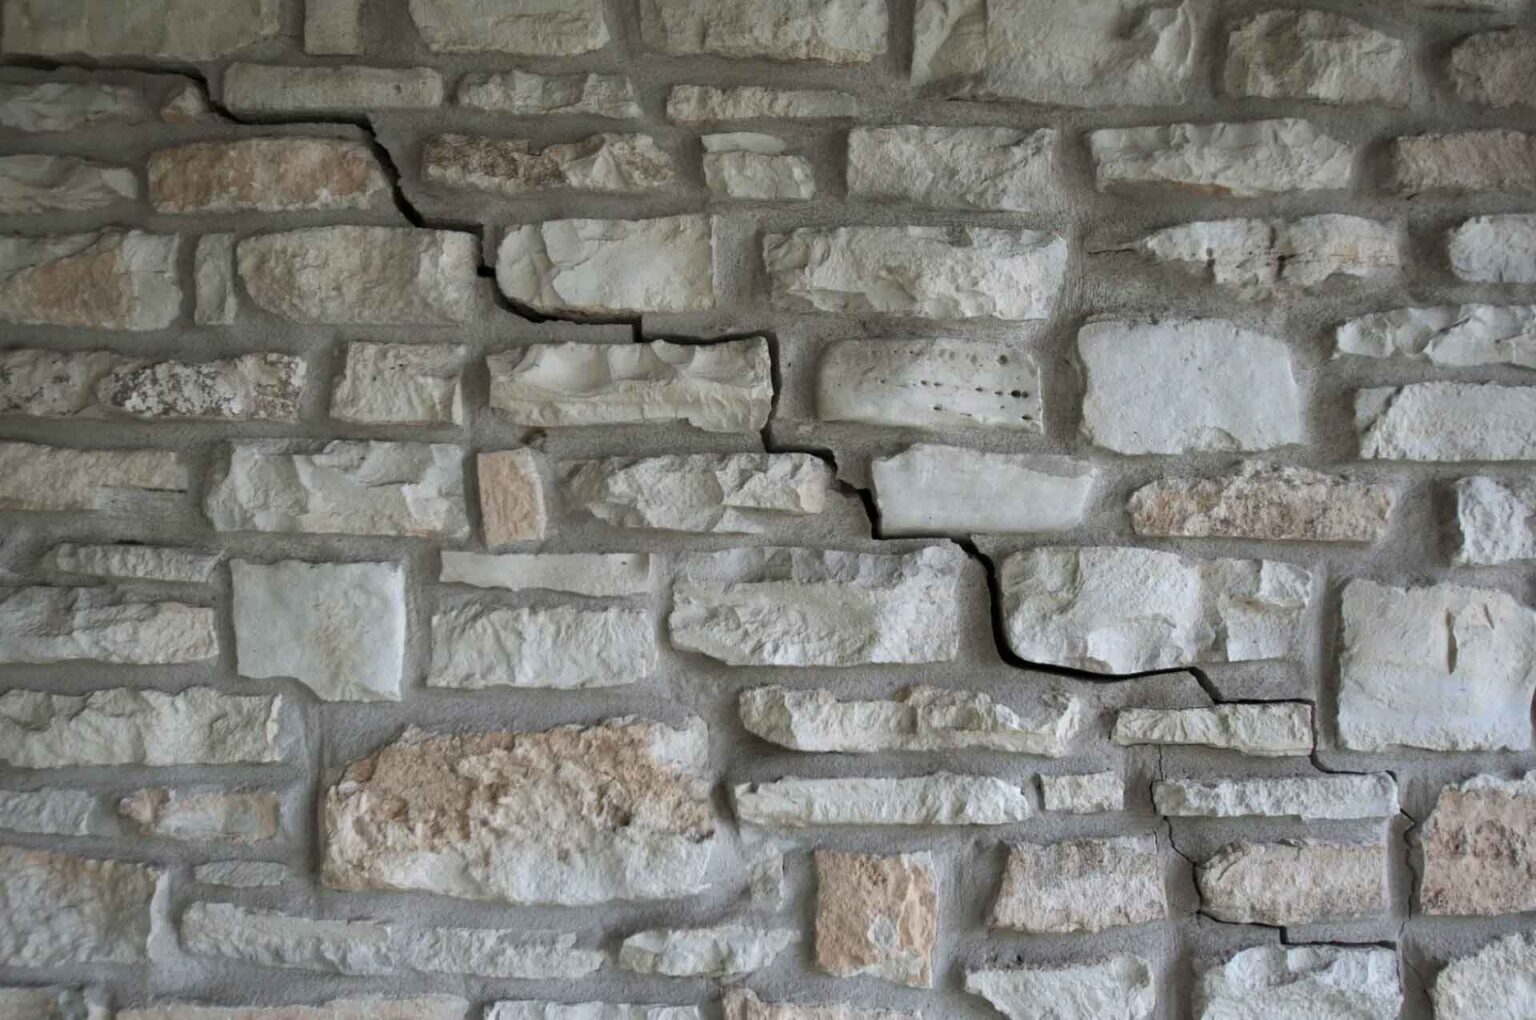
Identifying Cracks in Mortar
Cracks can range from minor hairline fractures to large gaps that compromise structural integrity. Here’s how you can identify if your mortar needs repair:
When Should You Seek Professional Help?
If cracks are wider than 1/4 inch or there are signs of water intrusion or significant structural concerns, it's best to contact local masonry contractors or "masonry repair near me" services.
Tools and Materials Needed for Repairing Mortar
Essential Tools for DIY Repairs
Before diving into repairs, ensure you have the following tools:
- Trowel
- Pointing tool
- Hammer
- Chisel
- Wire brush
- Safety goggles
- Dust mask
Materials Required
You'll need quality materials such as:
- New mortar mix (choose one compatible with existing mortar)
- Water (for mixing)
- Caulk (for sealing small cracks)
Step-by-Step Guide to Repairing Cracked Mortar Between Blocks
Step 1: Assess the Damage
Begin by conducting a thorough examination of the area requiring repair. Look for crack patterns that might suggest underlying issues such as foundation movement.
Step 2: Remove Loose Mortar
Use a chisel and hammer or a wire brush to remove all loose and crumbling mortar from the joints carefully.
Step 3: Clean the Joints Thoroughly
After removing loose material, clean out the joints thoroughly using a wire brush or compressed air:
Step 4: Prepare Your Mortar Mixture
Follow these steps:
Step 5: Apply New Mortar into Joints
Using your trowel:
Step 6: Shape the Joint
Once filled, use a pointing tool to shape the joint neatly:
Step 7: Curing Process
Curing is essential for successful adhesion:
Common Mistakes During Mortar Repair
Rushing Repairs Without Proper Assessment
It's tempting to jump right into repairs without fully assessing damage; this can lead to incomplete fixes that may worsen over time.
Using Incorrect Mortar Mixes
Not all mortars are created equal; using an incompatible mix can lead to further complications down the line.
Maintaining Your Masonry After Repairs
Regular Inspections Are Key
Conduct periodic inspections every season:
Sealing Joints
Consider applying a sealant after repairs:
- This helps prevent water infiltration and extends the lifespan of your work.
FAQ Section
Q1: How long does it take for repaired mortar to cure?
A1: Typically, it takes about 24 hours for surface curing; however, full strength may take several days up to weeks depending on conditions.
Q2: Can I use caulk instead of mortar?
A2: Caulk should only be used on very small cracks as it's not suitable for larger joints where flexibility isn't desired.
Q3: What are signs that I need professional help?
A3: Signs like wider-than-usual cracks (over 1/4 inch), significant moisture issues, or structural shifts indicate it's time for expert evaluation.
Q4: How do I find "masonry companies near me"?
A4: Searching online directories https://dependexteriors.com/our-services/stonework-masonry/ or using local business listings can quickly yield results tailored based on location preferences!
Q5: Is it worth DIY repairing cracked mortar?
A5: For small jobs where experience exists—yes! However larger issues warrant hiring experienced masonry contractors due their specialized skills!
Q6: How often should I inspect my masonry work?
A6: Inspect at least twice annually—more frequently after severe weather events—to catch potential problems early!
Conclusion
Maintaining your masonry structure is essential for ensuring its longevity and aesthetic appeal! The Step-by-Step Guide to Repairing Cracked Mortar Between Blocks has equipped you with practical knowledge on how best handle this task yourself while also recognizing when professional assistance becomes necessary! Remember that regular maintenance goes hand-in-hand with ensuring safety & stability within any building—ultimately protecting both property value & personal investment!
So grab those tools & get started today! And if you're ever unsure about tackling larger projects alone don’t hesitate reaching out experienced teams within local "masonry contractors near me." They’re here ready assist every step way!